Introduction
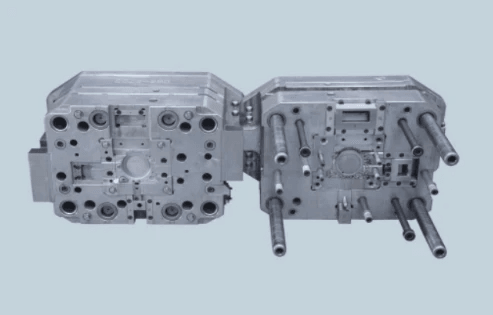
Injection moulding is a fascinating and widely used manufacturing process that transforms raw materials into intricate parts and products. To fully appreciate this method, it’s essential to grasp the injection moulding process step by step, including its stages and critical parameters. With the right understanding, you can optimize production and improve product quality.
Understanding the Basics of Injection Moulding
At its core, injection moulding is about shaping materials—typically thermoplastics or thermosets—by injecting molten material into a pre-designed mould. But what are the 4 stages of injection molding? The entire operation involves several key steps: material preparation, injection phase, cooling and solidification, followed by ejection of the finished part. By comprehending how does injection molding work step by step, we can better appreciate its efficiency and versatility in creating complex shapes.
The Importance of Each Process Step
Each step in the injection moulding process is crucial for achieving high-quality results; skipping or rushing through any phase can lead to defects or inefficiencies. For instance, understanding what is the sequence of the injection molding process helps ensure that each component—from heating to cooling—is executed flawlessly. Moreover, being aware of the cycle of injection moulding allows manufacturers to streamline operations and minimize downtime.
Key Injection Moulding Process Parameters
To master injection moulding, one must pay close attention to various parameters that influence production quality—these include temperature settings, pressure levels, and material flow rates among others. The right balance in these injection moulding process parameters ensures optimal results and reduces chances for defects in final products. By carefully monitoring these factors throughout each stage of production, manufacturers can achieve consistency while minimizing waste.
Overview of the Injection Moulding Process
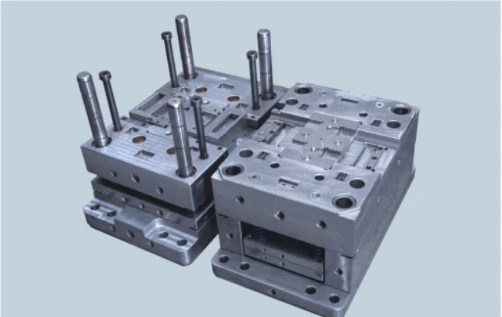
Injection moulding is a fascinating technique used to create a wide variety of plastic parts and products. By understanding how this process works, we can appreciate its efficiency and versatility in manufacturing. Let’s dive deeper into what injection moulding is all about.
What is Injection Moulding?
At its core, injection moulding is a manufacturing process that involves injecting molten material into a mould to create specific shapes and designs. This method is particularly popular for producing large volumes of identical items, making it an efficient choice for industries ranging from automotive to consumer goods. With the ability to use various materials, including thermoplastics and thermosets, the injection moulding process step by step offers flexibility in design and production.
How Does Injection Moulding Work Step by Step?
The injection moulding process works through several key steps that ensure precision and quality in production. First, raw plastic material is heated until it becomes molten; then it’s injected into a pre-designed mould under high pressure. Once cooled, the solidified part can be ejected from the mould—this cycle repeats continuously for mass production.
To break down how does injection molding work step by step: you start with material preparation, followed by the actual injection phase where the molten plastic fills the cavity of the mould. After this comes cooling and solidification before final ejection of the part—each stage plays an essential role in achieving optimal results.
The Sequence of the Injection Moulding Process
Understanding what is the sequence of the injection molding process helps clarify how each stage interlinks with one another for successful production outcomes. The typical sequence begins with feeding raw material into a hopper, which feeds into a heated barrel where it melts down into liquid form. Next comes injecting this liquid into the closed mould under pressure, allowing it to take shape before cooling occurs—this entire cycle represents what is commonly referred to as the cycle of injection molding.
In summary, mastering these steps not only enhances productivity but also ensures quality control throughout each phase of production—making it crucial for anyone involved in manufacturing processes using this method.
The Four Stages of Injection Moulding
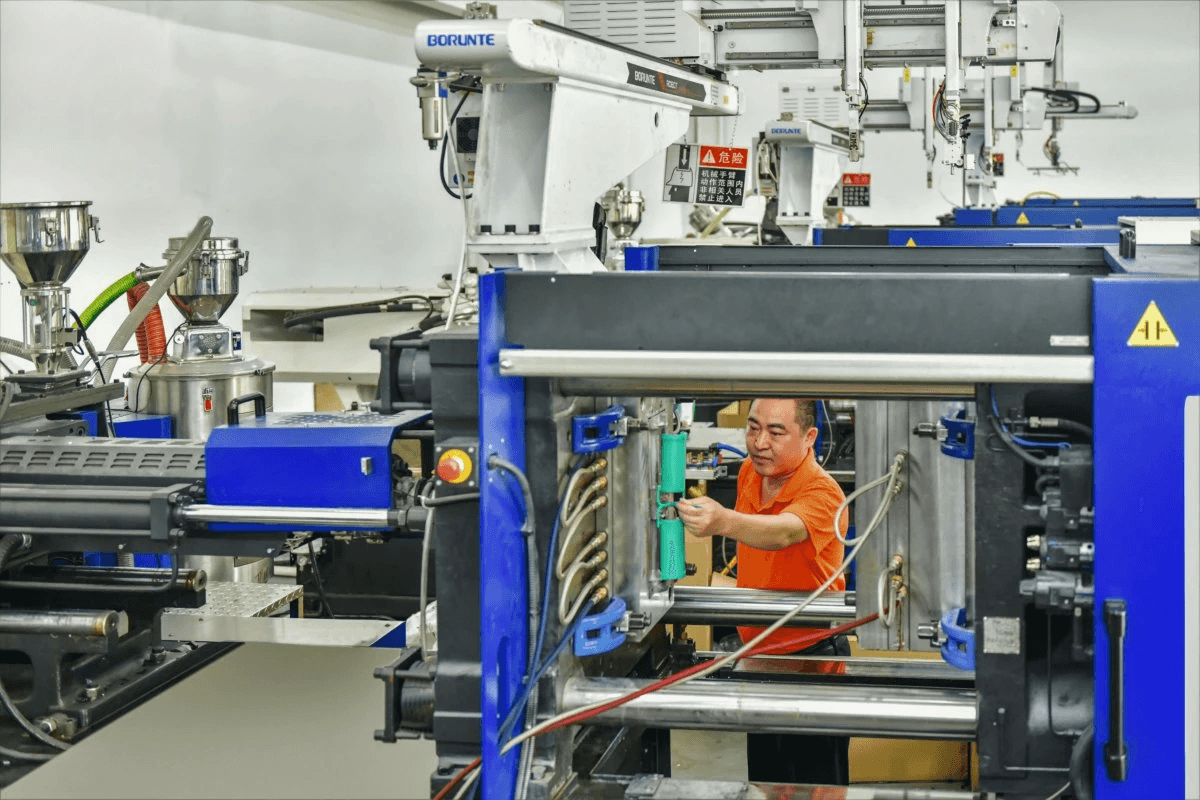
Injection moulding is a fascinating process that transforms raw materials into intricate shapes and designs through a series of well-defined stages. Understanding the injection moulding process step by step is crucial for anyone involved in manufacturing or product design. So, what are the 4 stages of injection molding? Let’s dive into each stage to unravel the sequence of the injection molding process.
Stage One: Material Preparation
The first stage, material preparation, sets the foundation for a successful injection moulding cycle. This involves selecting and preparing thermoplastics or thermosets that will be used in the process. The chosen material is often dried to eliminate moisture, ensuring it flows smoothly during injection and prevents defects in the final product.
During this stage, it’s essential to consider various injection moulding process parameters such as temperature settings and material viscosity. Properly prepared materials lead to better flow characteristics when injected into molds, enhancing overall quality. By understanding how does injection molding work step by step from this initial phase, manufacturers can significantly reduce issues later down the line.
Stage Two: Injection Phase
Once materials are prepped and ready to go, we move on to the exciting part—the injection phase! In this critical stage, heated plastic pellets are injected into a mold under high pressure using an injection unit. The pressure ensures that every nook and cranny of the mold is filled completely, creating precise and detailed parts.
The key here is balancing pressure settings for optimal results while maintaining consistent flow rates throughout the operation. During this phase of the cycle of injection moulding, any inconsistencies can lead to defects like short shots or flash—definitely not what you want! Keeping an eye on these factors allows for smoother operations as you navigate through each step of how does injection molding work step by step.
Stage Three: Cooling and Solidification
Now that our materials have been injected into their molds, it’s time for cooling and solidification—the third stage in our journey! This phase allows the molten plastic to cool down slowly within the mold cavity until it solidifies into its final shape. Timing is everything; if cooled too quickly or too slowly, warping or other deformities can occur.
During cooling, it's vital to monitor temperature parameters closely since they directly impact how well your part retains its shape after ejection from the mold. Knowing what happens during this crucial part of what is the sequence of the injection molding process helps ensure high-quality production with minimal defects down-the-line! Once cooled sufficiently, we’re ready for our final stage—ejecting those beautiful molded parts!
Diving into Material Selection

The choice of materials in the injection moulding process is crucial for achieving optimal results. Selecting the right material can influence everything from production efficiency to the final product's durability and performance. In this section, we will explore thermoplastics and thermosets, discuss their properties, and guide you on how to choose the best materials for your specific needs.
Understanding Thermoplastics and Thermosets
When it comes to injection moulding, understanding the difference between thermoplastics and thermosets is essential. Thermoplastics are versatile materials that become pliable upon heating, allowing them to be reshaped multiple times without significant degradation—perfect for a variety of applications in the injection moulding process step by step. On the other hand, thermosets undergo a chemical change when heated, resulting in a rigid structure that cannot be remolded; this makes them ideal for applications requiring high strength and thermal stability.
Both types of materials have their unique advantages depending on what you're aiming to achieve with your project. For instance, if you require flexibility and ease of recycling, thermoplastics may be your go-to option. However, if your project demands high-temperature resistance or structural integrity under stress, then thermosets could be more suitable.
The Role of Material Properties in Moulding
Material properties significantly influence how well an injection moulding project will perform at each stage of the cycle of injection moulding. Factors such as viscosity, melting temperature, and cooling rates can all affect how smoothly each step unfolds—from material preparation through to cooling and solidification. Understanding these properties allows manufacturers to fine-tune their processes for optimal results.
For example, a material with low viscosity may flow easily during the injection phase but could lead to issues like warping as it cools if not managed properly. Conversely, a high-viscosity material might provide better dimensional stability but could require higher pressures during injection—a key consideration when evaluating injection moulding process parameters. Knowing these characteristics helps engineers make informed decisions that enhance efficiency while minimizing defects.
Choosing the Right Materials for Your Project
Choosing the right materials involves assessing both functional requirements and production capabilities—essentially answering questions like: What are my project's specific needs? How does injection molding work step by step in relation to my chosen material? And what is the sequence of the injection molding process when using this particular type?
Start by identifying key performance criteria such as strength, flexibility, heat resistance, or chemical resistance based on your end-use application. Next, consider practical aspects such as cost-effectiveness and availability within your supply chain—after all, time is money! By carefully weighing these factors against each other while considering what works best within your overall production workflow—including understanding what are the 4 stages of injection molding—you can confidently select materials that align perfectly with your project's goals.
Temperature and Pressure Parameters
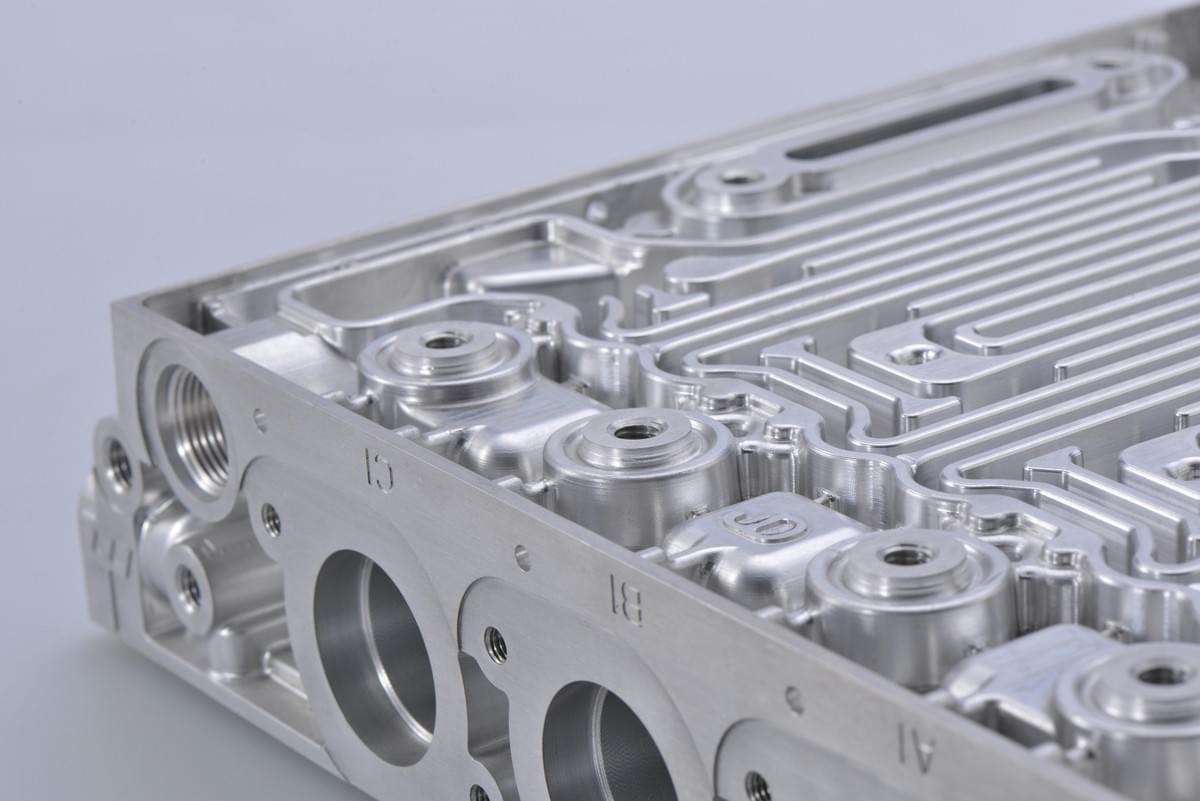
Understanding temperature and pressure parameters is crucial for mastering the injection moulding process step by step. These factors significantly influence the quality of the final product and the efficiency of production. By carefully managing these parameters, manufacturers can optimize their processes and minimize defects.
How Temperature Affects the Process
Temperature plays a pivotal role in how does injection molding work step by step. The melting temperature of the plastic must be precisely controlled to ensure proper flow into the mould. If the temperature is too low, material may not melt adequately, leading to incomplete filling; if too high, it can degrade material properties or cause excessive pressure within the system.
The sequence of the injection moulding process highlights that temperature adjustments are necessary during various stages, particularly during material preparation and cooling phases. For instance, maintaining optimal temperatures during injection helps achieve a uniform fill while preventing issues like short shots or warping in cooled parts. Thus, understanding how temperature affects each stage ensures consistent quality throughout production.
Pressure Settings for Optimal Results
Pressure settings are equally important in achieving optimal results within the injection moulding process parameters. Proper pressure must be applied during both injection and holding phases to ensure that molten plastic fills every corner of the mould cavity effectively. Insufficient pressure can result in incomplete parts or defects such as sink marks.
Moreover, understanding what is the cycle of injection moulding allows manufacturers to fine-tune their pressure settings for different materials and part designs. This adjustment not only impacts cycle time but also helps maintain dimensional accuracy in finished products. Therefore, striking a balance between adequate pressure application and cycle efficiency is essential for successful outcomes.
Balancing Parameters for Quality Production
Balancing temperature and pressure parameters is key to quality production in any injection moulding operation. An ideal scenario involves synchronizing these factors so that they complement each other throughout what are the 4 stages of injection molding: material preparation, injection phase, cooling/solidification, and ejection. When these elements work harmoniously, manufacturers can achieve smoother operations with fewer defects.
Additionally, monitoring these parameters continuously allows teams to identify deviations early on—an essential practice when considering how does injection molding work step by step from start to finish. By employing real-time analytics tools or automated systems within their processes, companies can make data-driven decisions that enhance overall product quality while reducing waste or rework efforts.
In conclusion, mastering temperature and pressure settings is vital for optimizing your production line's performance in relation to various injection moulding process steps—ensuring you stay ahead of industry challenges while producing top-notch products efficiently.
Common Challenges in Injection Moulding
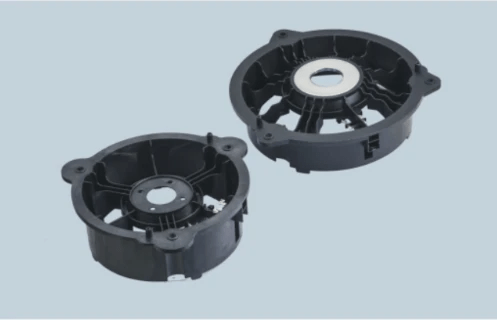
Injection moulding, while a highly efficient manufacturing process, is not without its challenges. Understanding these challenges is crucial for optimizing production and ensuring high-quality products. This section will delve into identifying defects, improving efficiency, and the vital role of the Baoyuan team in maintaining quality assurance.
Identifying Defects in Moulded Parts
Defects can arise at various stages of the injection moulding process step by step, impacting both aesthetics and functionality. Common issues include warping, short shots, and surface blemishes that can compromise the final product's quality. To tackle these problems effectively, it's essential to understand what factors contribute to defects during each stage of the injection moulding cycle.
One key aspect in identifying defects is recognizing the sequence of the injection moulding process. By closely monitoring each phase—from material preparation to cooling—manufacturers can pinpoint where issues may arise. Regular inspections and employing advanced technologies such as imaging systems can also help detect flaws early on.
Solutions for Improving Efficiency
Improving efficiency in injection moulding requires a keen understanding of various injection moulding process parameters that can affect production speed and quality. Streamlining operations involves fine-tuning temperature settings, optimizing pressure levels, and ensuring consistent material flow throughout the cycle. By adopting a systematic approach to these parameters, manufacturers can significantly reduce cycle time while maintaining product integrity.
Another effective strategy is implementing automation within the injection moulding workflow. Automated systems can enhance precision during each phase of how does injection molding work step by step—reducing human error and speeding up production times considerably. Additionally, investing in employee training ensures that staff are well-versed in best practices for operating machinery efficiently.
The Role of the Baoyuan Team in Quality Assurance
The Baoyuan team plays an integral role in upholding quality assurance throughout every phase of the injection moulding process step by step. Their expertise allows them to identify potential risks before they escalate into larger issues that could affect production output or product quality significantly. By conducting regular audits and applying rigorous testing methods, they ensure that all components meet industry standards.
Moreover, their involvement extends beyond immediate production concerns; they also focus on long-term strategies aimed at enhancing overall operational efficiency within what are considered the 4 stages of injection molding: material preparation, injection phase, cooling/solidification phases—each requiring meticulous attention to detail for optimal results. This proactive approach positions Baoyuan as a leader in delivering high-quality products consistently.
In conclusion, addressing common challenges within injection moulding requires a multifaceted strategy involving defect identification techniques, efficiency improvements through parameter optimization, and strong oversight from dedicated teams like Baoyuan's quality assurance professionals.
Conclusion

In summary, mastering the injection moulding process is essential for anyone looking to produce high-quality plastic parts efficiently. By understanding each phase, from material preparation to cooling and solidification, you can navigate the injection moulding process step by step with confidence. Whether you're a seasoned professional or just starting out, grasping the nuances of what is the sequence of the injection molding process will elevate your production capabilities.
Mastering the Injection Moulding Process
To truly master the injection moulding process, one must delve into how does injection molding work step by step. This involves not only knowing what are the 4 stages of injection molding but also comprehending how each stage contributes to a successful cycle of injection moulding. By focusing on these intricate details and understanding their impact on overall quality and efficiency, manufacturers can achieve optimal results in their production lines.
Best Practices to Optimize Your Production
Implementing best practices in your operations can significantly enhance productivity and reduce waste during the injection moulding process. Regularly monitoring key injection moulding process parameters like temperature and pressure settings ensures that you’re getting consistent results while minimizing defects in your final products. Additionally, staying informed about common challenges in this field allows you to proactively address issues before they escalate, ensuring that your team remains efficient and effective throughout every cycle of injection moulding.
Future Trends in Injection Moulding Technology
As technology advances, so too does the landscape of injection moulding processes—making it imperative for industry players to stay ahead of trends shaping this field. Innovations such as smart manufacturing techniques and enhanced material science are paving new pathways for improved efficiency and sustainability in production methods. By embracing these future trends while adhering to established best practices, businesses can ensure they remain competitive within an ever-evolving market focused on quality and speed.

